


Unsure on how to fit your new bath? You've come to the right place. In this simple step-by-step guide, we'll explain how to fit your bath with ease. So, you can save money on renovations, whether you're planning a small bathroom remodel or just replacing an existing tub. We’ll cover everything from fitting and adjusting the legs to installing the bath waste, overflow and taps.
This guide also explains how to install panels and plinths, plus bath panel clips for fitting a curved bath panel. If you've already installed your tub, please click here to learn how to fit a bath panel.
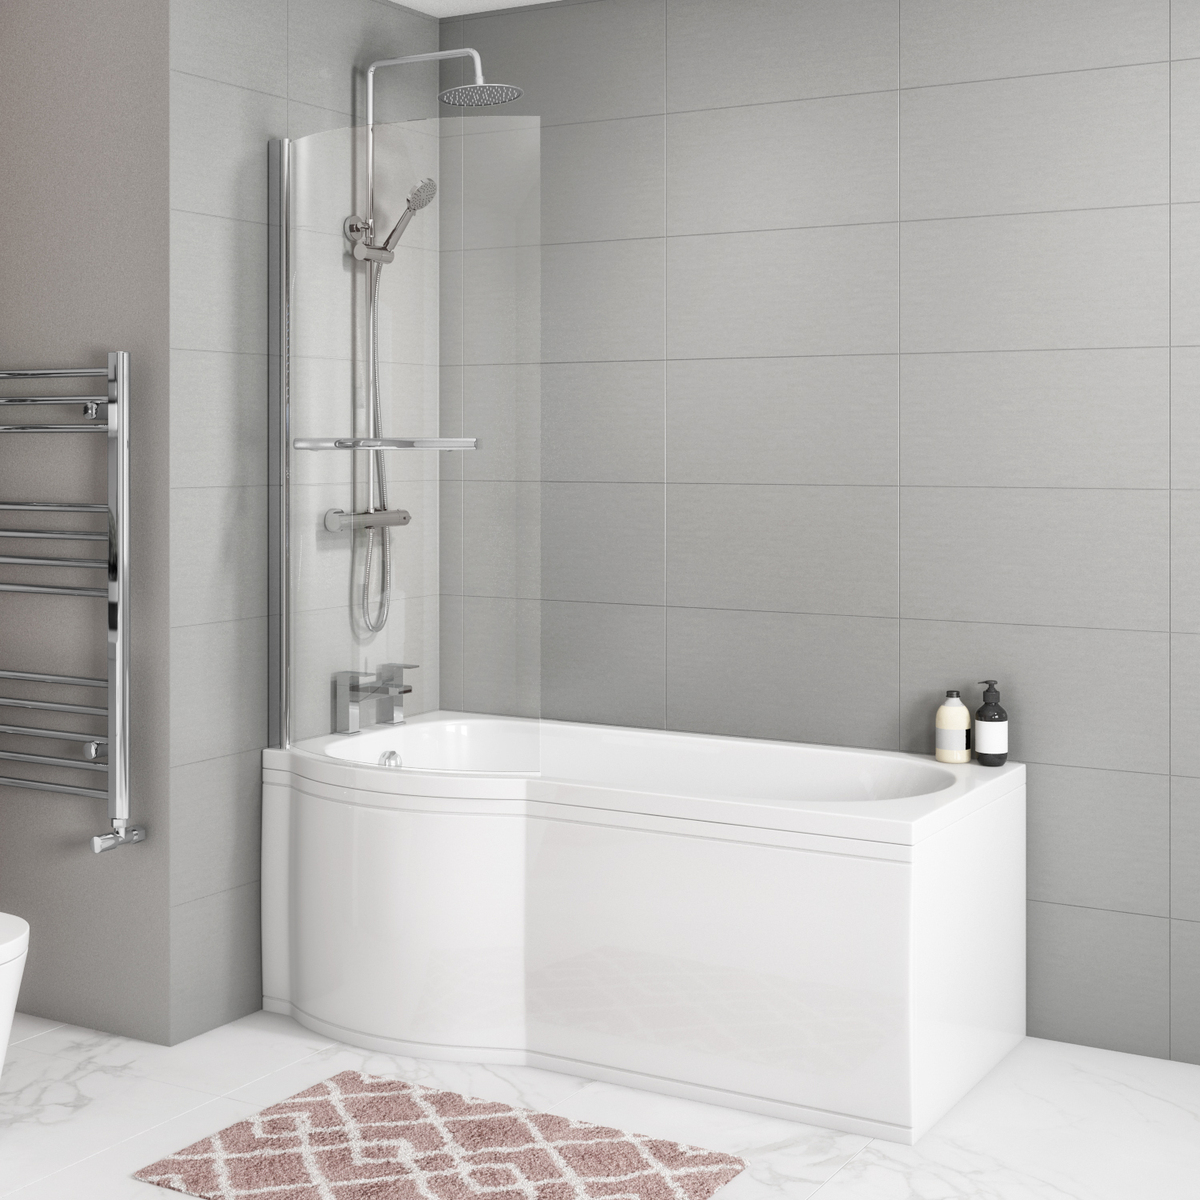
Modern styled bathroom with P shaped bath with shower and chrome radiator.
Range featured: Portland.
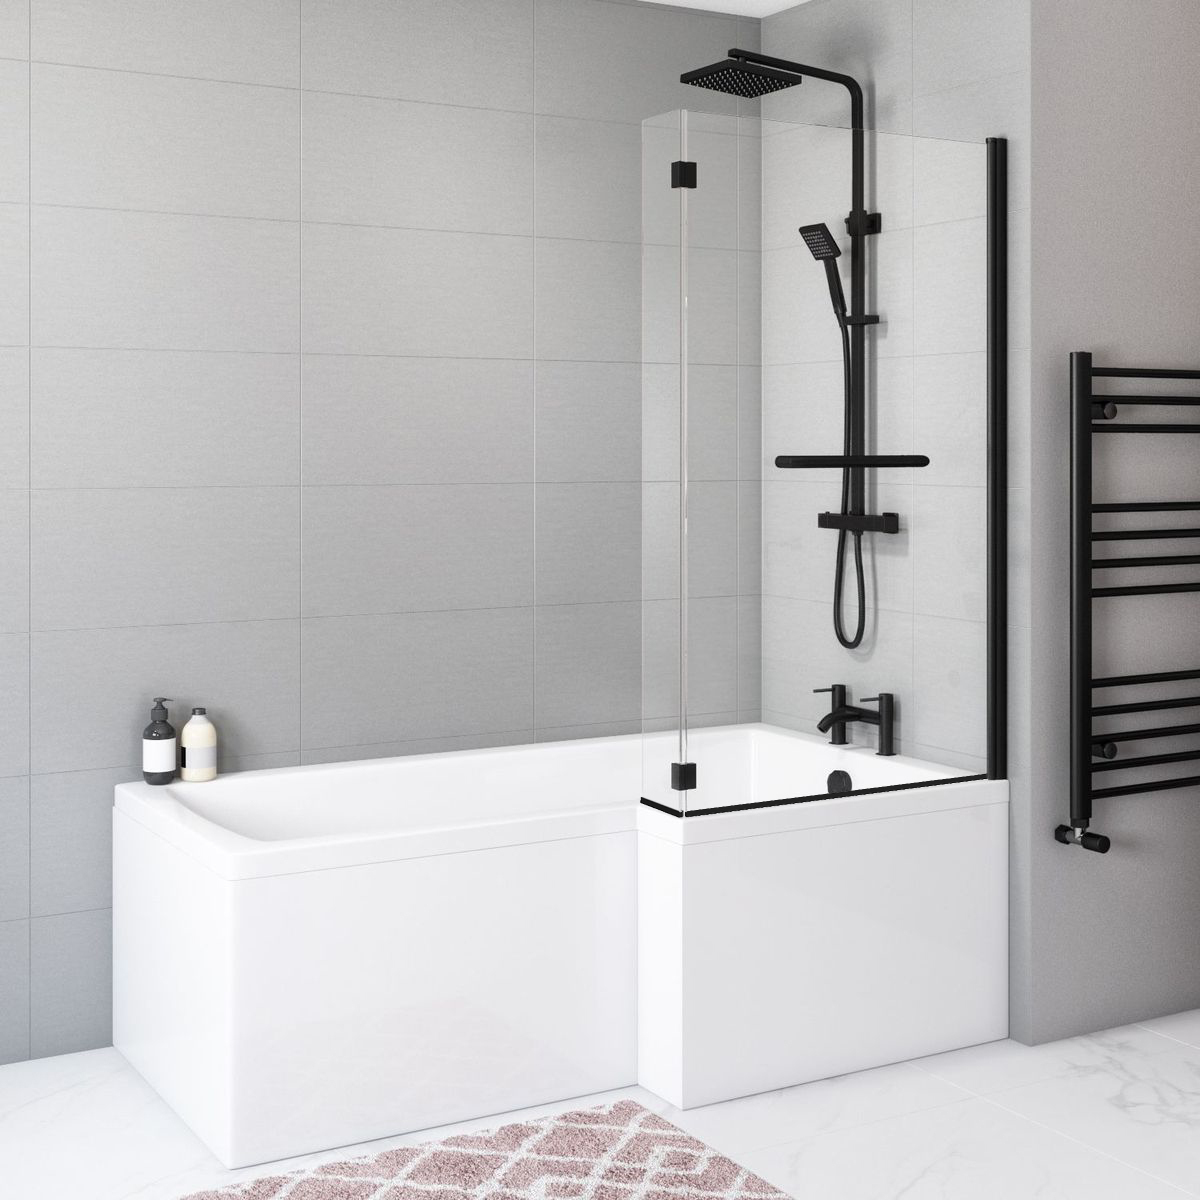
Modern bathroom with black shower, white L shaped bath and bath screen.
Range featured: Lomax.
Please note, this guide is specific to installing a bath where there is an existing water supply and does not cover replumbing your bathroom. Before getting started, we recommend turning off your water supply, checking the surrounding area for hazards and depending (on your type of bath), rolling lino back in preparation.
You will need:
- Bath of your choice
- Bath waste
- Bath overflow
- Bath taps
- Spanner
- Pozidrive screwdriver
- Spirit level
- Sealant gun
- Silicone sealant
- Required fixings:
- 2 x leg cradles or leg bars (leg frames)
- 1 x centre leg bracket
- 5 x bath feet
- 2 x wall fixing brackets
- Self-tapping screws
- Nuts
Additional tools for baths without pre-drilled tap holes:
- Electric drill with hole cutter
- Masking tape
- Measuring tape
- Pencil
Additional tools for fitting a bath panel:
- Bath panel(s) of your choice
- Tape measure
- Pencil
- Saw
- Electric drill
- Wood batten
- Wood adhesive
- Wood screws
- Angle brackets
Step 1 – Assemble the legs
First, you need to assemble the bath feet. Most baths come with five feet, two for each leg bar plus a central leg.
If your leg bars aren't screwed into place, position them roughly 100mm in from each end of the bath's baseboard, then secure with a screwdriver and self-tapping screws. Then, to attach the feet, fit a washer, slot each foot into the corresponding holes, and secure with another nut.
Next, position the centre leg support in the middle of the baseboard and screw it into place. Check all legs stand at roughly the same height with a spirit level before tightening the nuts with a spanner. Finally, screw the wall fixing brackets to the wooden blocks under the lip of the bath.
Step 2 – Level the bath
Ask a friend to help you turn the bath the right way up and position it in its final location. Use a spirit level to check your bath is level, bearing in mind your floor may be uneven or sloping.
Once you're happy the bath is level and stands at the correct height, tighten the leg nuts with a spanner. If you can't get your bath completely horizontal using the legs provided, you may need to purchase longer bars.
Top tip: If you plan on installing a bath panel, the standard bath height is 510mm. Measure from the rim of the bathtub to the floor, then adjust the legs as necessary.
Step 3 – Fit the bath waste and overflow
Now your bath is in position, and you're ready to fit the bath waste and overflow.
For the overflow, slot a rubber washer onto the overflow mechanism and position it behind the hole. Attach the chrome fixing to the front and secure it in place with a nut.
For the waste, attach a rubber washer to the waste body and move it underneath the hole in the bathtub. Take the waste grate and fit a rubber washer to the underside where the fixing will meet the bath. Then, connect the waste fixings through the bath and screw tight.
Finally, add the plug and place the overflow dial onto the spindle. Once you've tightened the overflow screw, twist the overflow dial to raise and lower the plug.
Top tip: For a fully watertight finish, add a bead of silicone between the rubber washers and bath when fixing into place.
Step 4 – Drill the tap holes
If your bath comes with pre-drilled tap holes or if you're using wall-mounted or freestanding taps, please skip this step.
If you're installing deck-mounted bath taps, it's time to drill some holes. Start by deciding how and where your taps will be positioned, then apply masking tape to the area. This will allow you to mark your measurements and stop the drill bit from slipping.
Next, measure the length of the tap area and mark the halfway point on your masking tape. Use this point as a central guide for both taps – for reference, standard tap mixers usually sit 180mm apart and have a 28-30mm diameter.
Once you're happy with your measurements, drill one pilot hole at each centre point. Then, using the correct sized hole saw, drill the holes for the bath mixer tails.
Step 5 – Install the taps
Remove the masking tape from your bath. Place the mixer tails through the tap holes then, fit the washers and nuts to each tail by hand. Check the taps are sitting straight and flat before tightening the nuts with an adjustable spanner.
Step 6 – Connect the water supply
Using the wall fixing brackets attached in step 1, screw the bath to the wall. Then, use flexi-pipes to attach the taps to the water supply and connect the waste pipe. Turn on your water supply to check for leaks; then if everything is working correctly, you're good to go.
Step 7 – Measure the bath panel(s)
Unless your bath has concealed legs or is freestanding, you’ll need to install a bath panel. There are different ways to install each panel, depending on your bath's shape and position. Curved or p-shaped panels are commonly secured with clips, unlike straight panels. Some even include a plinth.
Begin by finding the panel's height; to do this, measure from the rim of the bath to the floor. If your measurement differs from the panel's height, see if you can adjust the bath legs. Or, if your bath panel comes with a plinth, adjust the height of the plinth. To find the required height of your plinth:
- Minus the height of the panel from the height of the bath.
- Mark this height on your plinth and draw a straight line with a spirit level.
- Match the drawn line with the edge of your panel and screw the plinth to the back.
Step 8 – Join the panels together
If you only need to install one panel, please skip this step.
Depending how many sides of your bath are exposed to the room, you may need to install multiple panels. Ideally, your panels should slot together neatly. But if they don't, just cut a wooden batten slightly shorter than your panel's height – leaving room for the plinth. Place the front bath panel over the end panel, arranging the batten in the corner. Then, secure with angle brackets and screws. Repeat for all sides.
Step 9 – Check your space
Now that you’ve assembled your panel, place it against the bath and check the area for obstructions, like skirting boards or pipes. Mark their location(s) on the panel with a pencil. Then, using a saw, carefully cut out the marked area.
Top tip: If your panel is made of wood, seal any exposed edges with PVA glue to ensure a watertight finish.
Step 10 – Install the frame
To fix the bath panels securely in place, you must install some wooden battens. These battens will be screwed to the wall and act as anchor points. We recommend checking there are no pipes or electrics inside your wall before drilling. If you're unsure, check with a multi-detector.
Place your panel in position, then, using a pencil, trace an outline where the edge meets the wall. Remove the panel and measure its thickness. Draw another line on the wall recessed from the first at this thickness. This is the location for your wood batten.
The length of your batten should be a little shorter than the height of your bath panel, so when installed, there is enough room to slot the panel into place. Measure and cut two pieces of wood for each wall. Then, secure to the wall using the appropriate fixings.
Step 11 – Install any clips
If you have a p-shaped or curved bath panel, you may need to install some clips. Place your panel in position, then check it’s vertical with a spirit level. Draw a line on the floor along the length of the panel, then remove the panel. Using the appropriate fixings, secure your clips along this line and align with those on the underside of the bath.
Step 12 – Attach the panels
Now that you know your panel’s contact points, there are two methods for securing it in place. Choose the one with which you’re most comfortable.
Using a sealant gun, apply wood adhesive to the bath panel where it meets the frame and secure with tape until the adhesive sets. Wood adhesive gives a seamless finish.
Secure the panel to the wood frame using screws, then cover with matching screw caps. Screws firmly secure the panel.
If your bath panel comes with preinstalled clips, choose your preferred method for fitting wall battens. Then, push the panel into position until it clicks.
Step 13 – Seal the edges
Start by filling the tub up with water. This ensures the sealant won't pull away from the wall in the future.
Then, using a silicone gun, follow the bath's edges around the wall to the floor with a bead of silicone. Smooth with a rounded edge tool for a nice neat finish. Wait twenty-four hours for the silicone to cure, and then your bath is ready to use!
Parting advice
If you found this helpful, we'd love to see your finished bathroom on social media. Just tag your image with @betterbathrooms on Facebook or Instagram.
If you need any further bathroom inspiration head over to our Pinterest page.


 Back to top