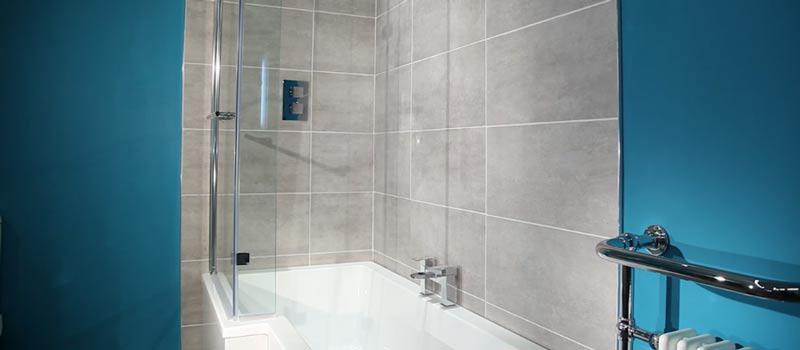
An L shaped shower bath can be a great addition to a bathroom: these space savers allow you to relax in the bath or to enjoy plenty of elbow room while you shower, without the need for a separate shower cubicle.
You'll need to fit an L shaped shower panel to your bath to ensure that the water is properly contained when you shower, however. To help you get this right, here's our handy guide to fitting a shower screen.
Positioning and Securing the Wall Profile
Well begin by laying the large glass panel down on a protective sheet on the bathroom floor. Separate the wall profile from the glass panel and place the profile against the wall, approximately 10-15mm in from the outside edge of the bath. Using a spirit level, align the profile vertically and mark its position with a pencil line down the wall. Then, holding the profile in place, mark the position of the drill holes.
Drill your wall profile fixing holes, making sure that you use the appropriate drill bit and wall plug combination for your wall type. At this stage we recommend that you wear suitable protective eyewear.
Insert wall plugs into your drill holes. Place the profile in position; you can apply a bead of silicone sealant between the profile and the wall before fixing the profile in place. Secure the profile firmly to the wall.
Fitting the Shower Screen
Push a strip of vertical corner seal firmly and fully onto the long edge of the large glass panel. Measure and cut to size a piece of seal for the horizontal base of the glass panel, ensuring the drain will point inward when the panel is in place. The vertical and horizontal pieces of seal, when cut and pushed into place, should meet at a mitred joint, with the vertical seal sitting on top.
Push the glass screen into the wall profile, ensuring it is level and correctly positioned on the bath, with the drain facing inward. You may need someone to hold the screen in place for you at this point.
Using a 3.2mm drill bit, drill through the inner side of the profile. Your holes should be 100mm from the bottom of the profile, 100mm from the top of the profile, and equally spaced between these points. Make sure you do not drill all the way through to the front of the profile. Fit a screw and washer in each hole, and tighten firmly to hold the screen in place. Fit screw caps to each of your screws.
Fitting the Return Screen
Now, measure the bottom seal for the smaller return screen, and cut it to size, creating a mitred joint as before with the vertical seal sitting on top. Push the seal onto the base of the return screen.
Align the return screen with the vertical corner seal and push it firmly into place. Check that the screen is vertical and positioned correctly on the bath.
Securing the Two Corner Brackets
Position one of the L shaped brackets against each of the fixing holes on the inside corner section of your screen. Position a square plate on the outside of each hole, and secure. This will hold the return screen firmly in place, completing the L shape of your shower screen.
Attaching the Towel Rail
Remove the screw covers from the rail. Push the thread of the screw covers through the holes in your glass panel and re-connect the rail, tightening firmly. Be careful not to over-tighten.
We hope you found our guide on fitting a shower screen useful. If you.re ready to get started with your own shower screen installation, you can browse our fantastic range of shower screens here.


